
Contributing Author: Madeline May
No matter how fast-paced and automated our world gets, there’s something about the holidays that makes us want to take it slow and go the homemade route. Whether you’re making grandma’s pumpkin pie recipe or creating your own garland, you can’t replace the feeling of doing it from scratch. Of course, you could go buy these items from the store and save some time and effort. But imagine your family and guests visiting for the holidays. You are sharing the joy of the season together—and perhaps cups of apple cider or hot cocoa. Then they look over at your pumpkin centerpiece or handmade wreath and ask, “Wow, where did you get that?” And you respond, “Oh no, I made that.” If this is your idea of an ideal holiday, check out our top picks for DIY holiday decor!
Pretty and Pumpkin
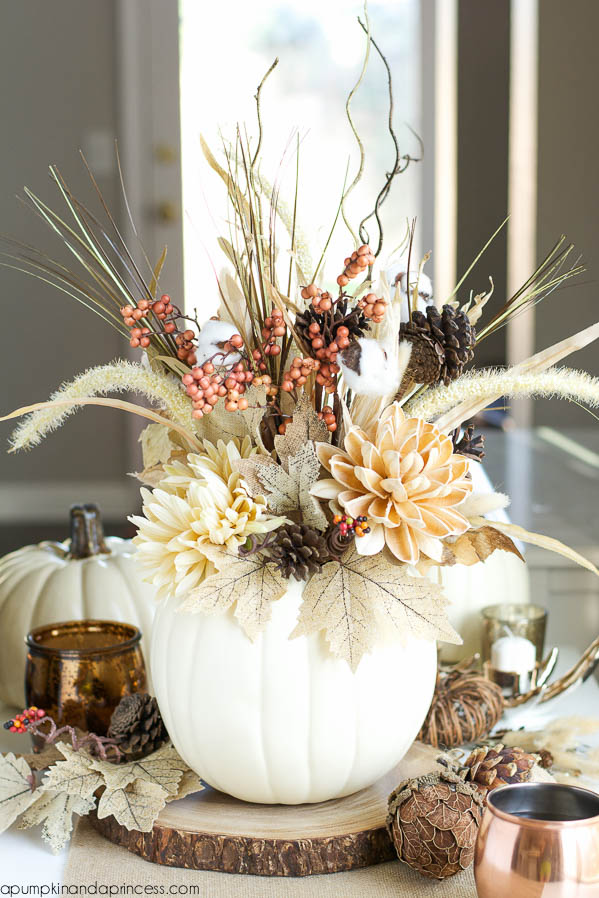
Crisp fall leaves, bright berries, soft flowers, textured pine cones, and a smooth pumpkin—this centerpiece is the epitome of the fall season. Plus, you can add variations to it throughout the season to adapt it to any holiday gathering. It’s the ideal finishing touch to your autumn table setting.
Materials
- Styrofoam block
- Fall stems
- Faux pumpkin
- Hot glue
Instructions
Using a knife, cut the top stem off your pumpkin. Make sure the hole is large enough to fit your styrofoam inside. Glue the styrofoam inside of the pumpkin, then arrange your fall stems inside. For variations and more pumpkin centerpiece ideas, visit A Pumpkin & A Princess.
Thankful and Timeless
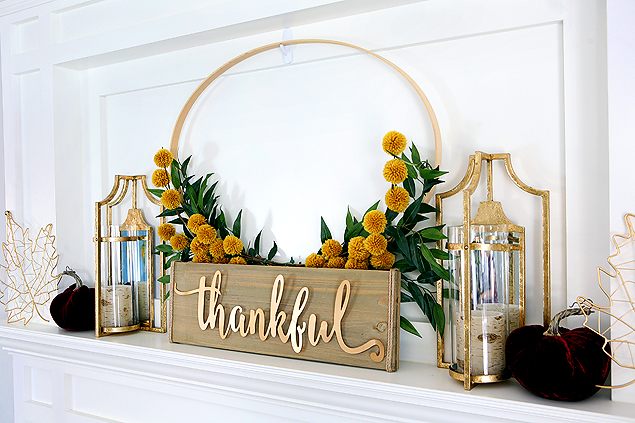
The holidays are a time to set aside our everyday stresses and remember the reasons we have to be thankful. With playful fall stems and an elegant script, this DIY holiday mantelpiece will complement any decor style. Plus, it will remind guests of the real meaning of the season.
Materials
- 18” x 27” embroidery hoop
- Mustard spray paint
- Fall stems
- Sign
- Hot glue
Instructions
First, spray paint your embroidery hoop and allow it ample time to dry. Then, glue your stems around the sides near the base. Secure your finished hoop on the mantel, then place your sign in front. Enjoy your new mantelpiece!
Classy and Chic
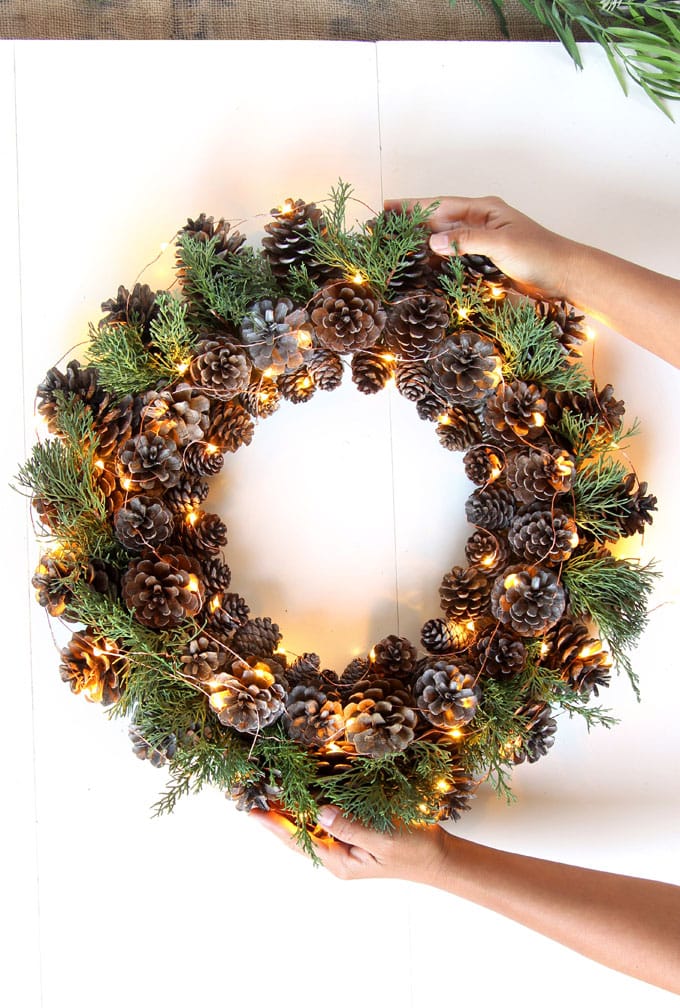
Pine cones are a great way to bring the outdoors in and emphasize the winter season while still granting your lake home a timeless aura. This pine cone wreath complements numerous decor styles, from farmhouse to modern. Plus, you can customize it to go with your fall, Thanksgiving, winter, or Christmas decor. Talk about a four-in-one!
Materials
- A 14″ wire wreath
- Door wreath hanger (optional)
- Hot glue and hot glue sticks
- Battery-powered LED fairy string lights
- 60-75 pinecones, sorted into 3 even groups of large, medium, and small
Instructions
First, wrap the wreath form with twine until it is completely covered (this will help the glue stick). Next, glue the large pine cones to the outside ring of the wreath form. Then glue the medium pine cones to the next circle, closer to the center. Finally, glue the small pine cones on the most inward ring of the wreath. Creative variations include adding evergreen cuttings, red berries, string lights, and more. For more details, check out A Piece of Rainbow.
Repurposed and Rustic
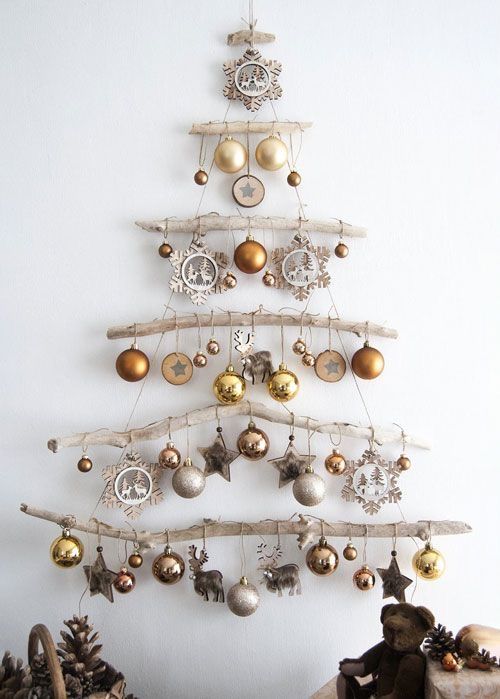
Do you love putting a twist on an old classic? This DIY holiday tree can serve as a unique alternative to the traditional Christmas tree, and its rustic look wonderfully complements the lake home aesthetic. Plus, you can use sticks and logs from your own backyard to create the tree, making it an eco-friendly option.
Materials
- 7 Silver Birch logs (30-40 mm diameter)
- 6 meters of jute rope
- Ornaments
Instructions
Arrange the logs in a tree shape and keep space between them. Knot the middle of your rope onto the top log. Then, keeping it taut, tie it onto every log at the ends of the log, forming a triangle. Hang your tree onto the wall and add your ornaments and decorations.
Expensive and Elegant
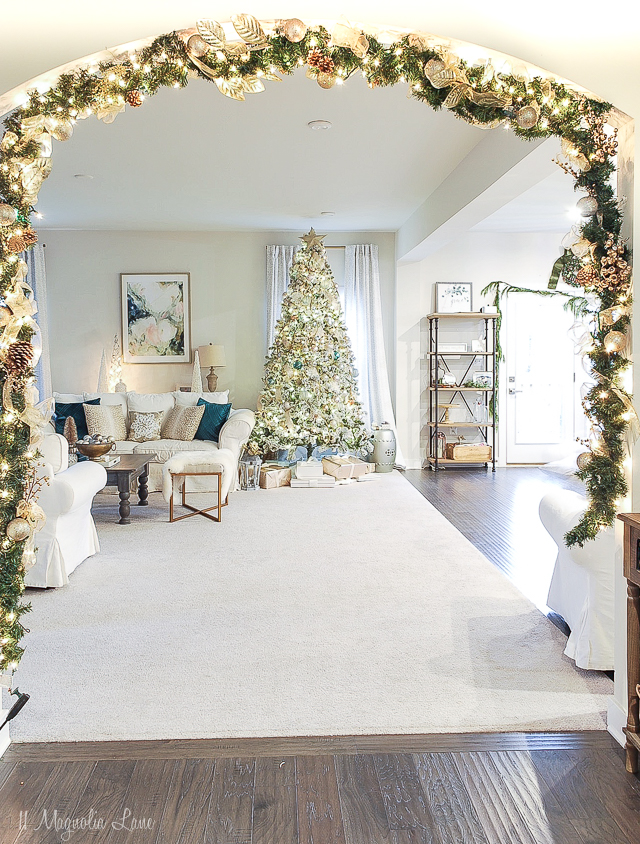
Calling this garland expensive might seem like a misnomer since you can create it for a low price. However, when your lake home guests take in its sparkle, elegance, and glam, they will hardly think it was crafted on a budget. Although it looks complex, this Christmas garland is quite easy to make and will transform your home into a mini Hallmark movie in no time.
Materials
- Lighted garland (you may need two)
- Gold embellishments (flowers, ornaments, pine cones, stems, berries, etc.)
- Gold-wired ribbon
- Additional gold-wired ribbon
- Wired wood picks
Instructions
First, spread your garland out on the floor. Secure all your embellishments to the garland by using wired wood picks. Then, wrap the ribbon around the garland. Feel free to wire some loops together and cut shorter pieces to tuck into certain sections. Leave some ribbon hanging on each end. Secure to the wall with two large anchor hooks and some command strips on the side. For more details, visit 11 Magnolia Lane.
We hope these pieces enhance your holiday gatherings with friends and family. Cheers to all things merry and bright—and from our lake home to yours, Happy DIY Holidays!

